Add a Node
Connect your GPU to ParalonCloud and start earning — a single Docker command, no port forwarding required.
Adding a node connects your machine to the network so it can host rentals. Make sure you've met the provider prerequisites first.
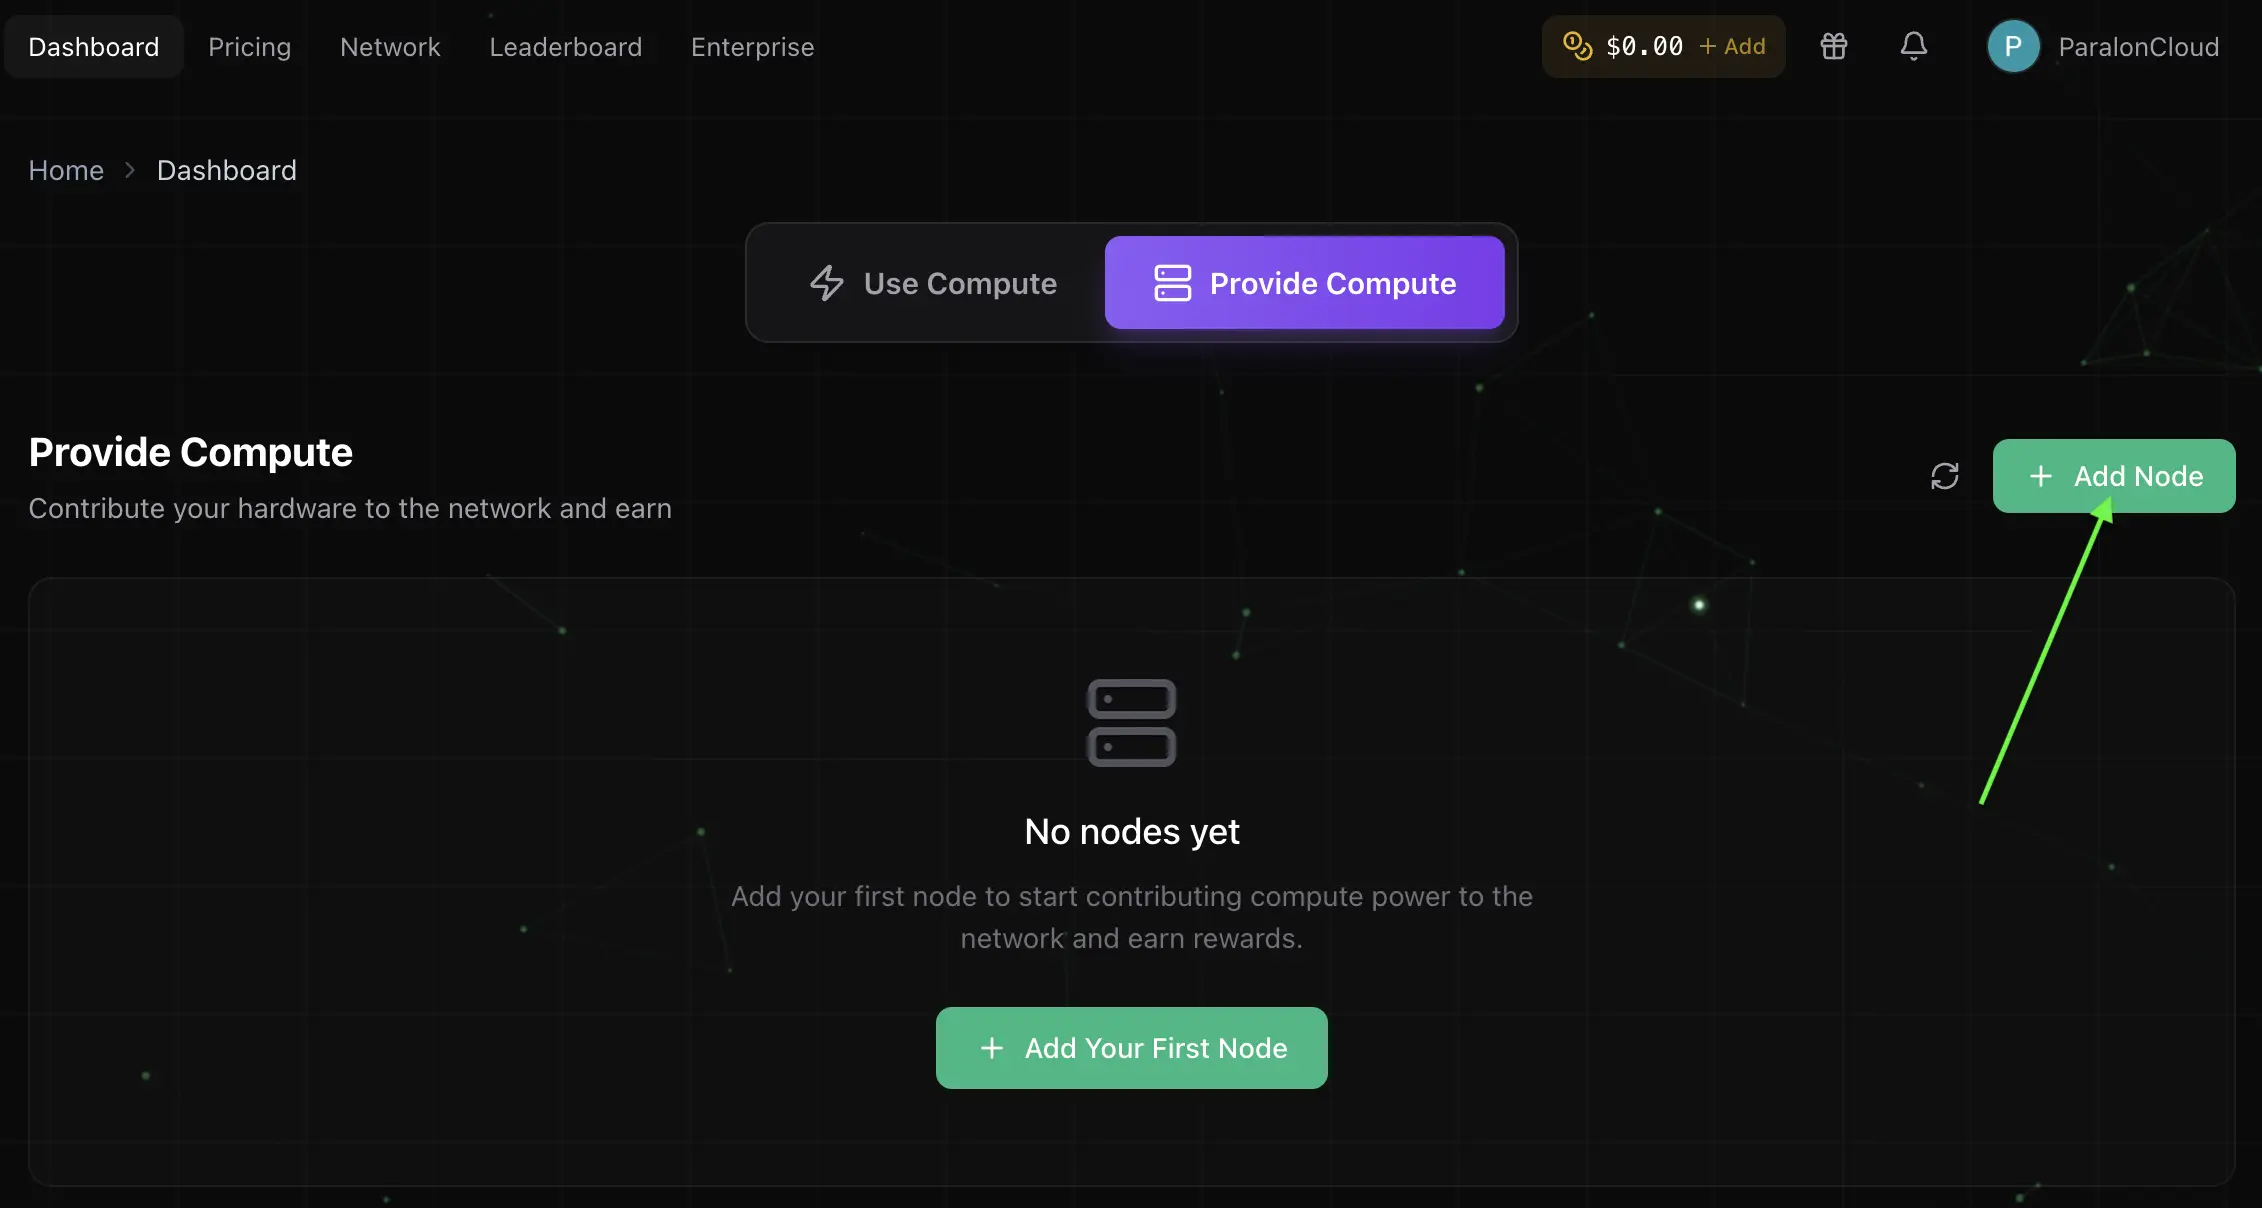
1. Open the dashboard
Sign in and go to your Dashboard. Switch to the Provide compute tab and click Add Node.
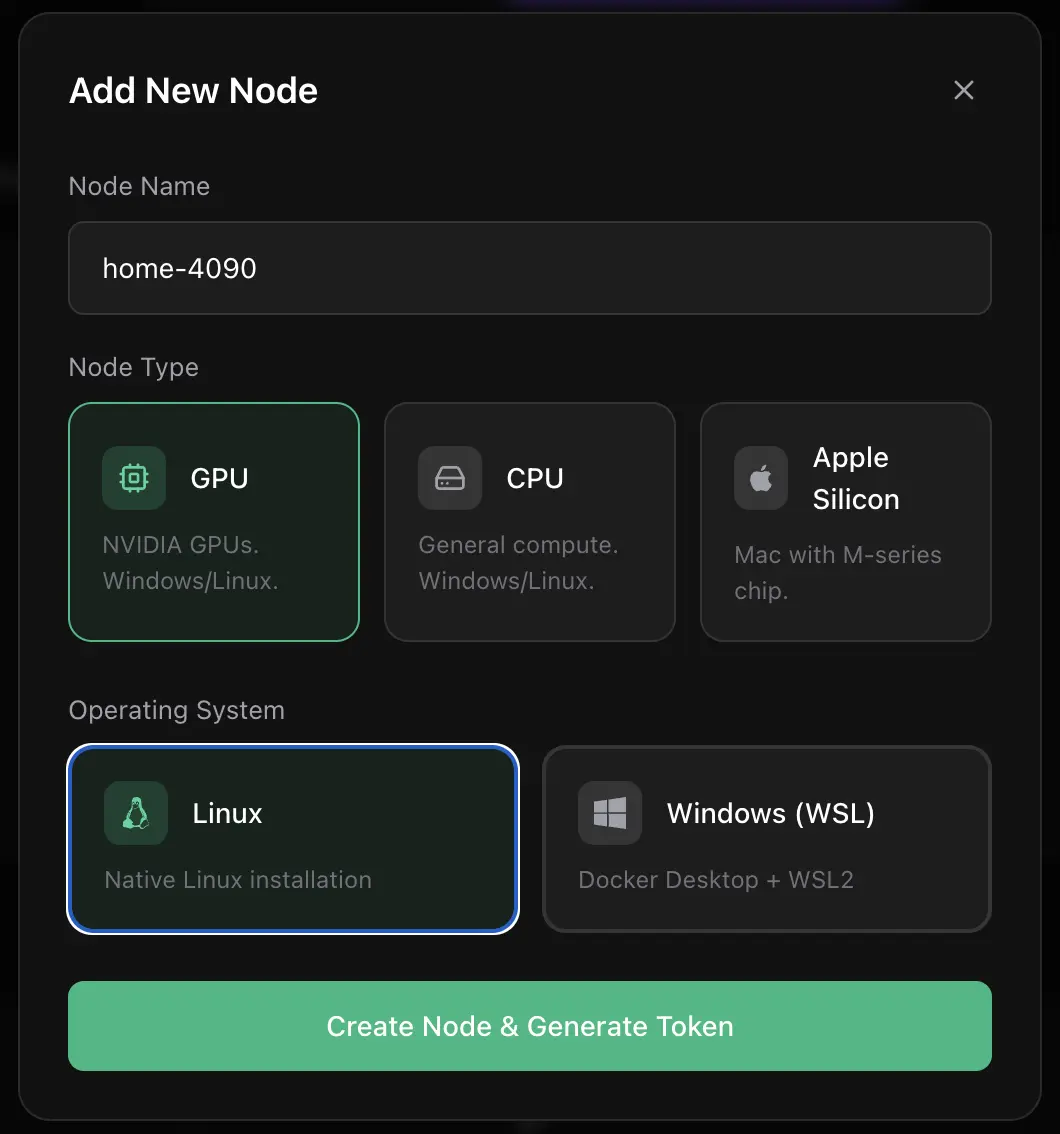
2. Name your node and pick your OS
Give the node a recognizable name (e.g. home-4090) and choose your operating system:
- Linux — a native Linux installation.
- Windows (WSL) — Docker Desktop running on WSL2.
You'll get a one-time install command tied to your account, tailored to the OS you pick.
3. Run the install command
Copy the generated command and run it on the machine with the GPU. Your account token is filled in automatically — just paste and run.
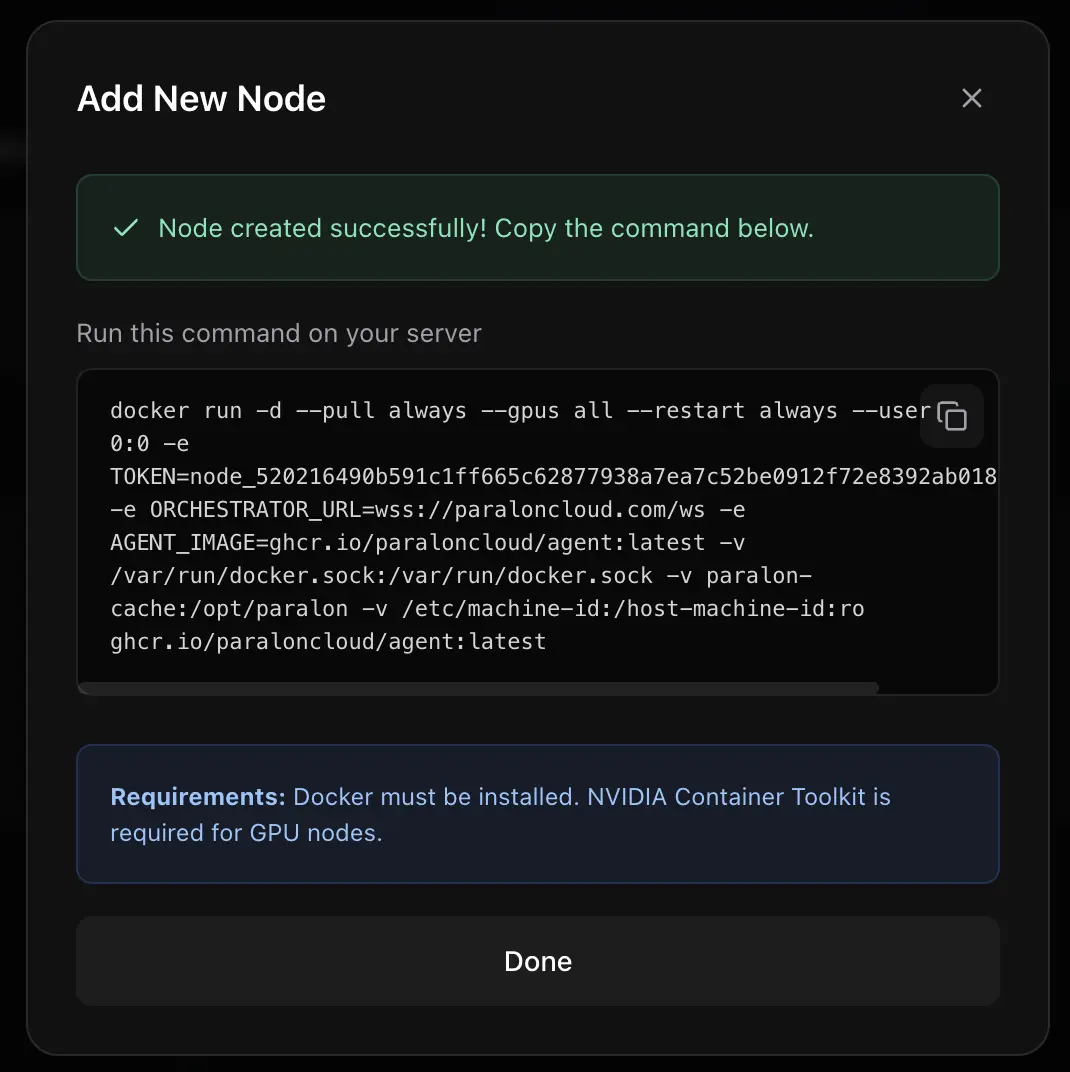
The agent runs in the background, survives reboots, and connects out through a secure tunnel — no port forwarding or public IP needed.
4. Wait for verification
Once the agent connects, your node appears in the dashboard. ParalonCloud runs a quick verification (hardware check + a benchmark) and pre-pulls the rental image. When that finishes, the node flips to rent-ready and can accept rentals.
5. Control your node
From the dashboard you can:
- Toggle rentals on/off — pause hosting whenever you want.
- Re-fetch the install command for a node.
- Watch status and earnings.
Earnings are billed to renters per minute and credited to your balance for the time your node is actually rented. You stay in control — stop accepting rentals at any time.
Next: see what renters experience in Rent a GPU.